I was walking into my sewing room the other day and saw this awesome gold fabric laying with the rest of my fabrics. My mom had given it to me over the summer along with a bunch of other fabrics she bought on sale at the fabric store thinking I would be able to find some use for it. I set the fabrics aside without really taking the time to think about what I could use them for. For some reason when I saw it this time something clicked in my head and I realized how similar the color was to the yellow pillows on my bed. I had already been planning on extending my bed skirt to cover our under bed clutter, so this fabric seemed like the perfect option. It's free fabric and it's the perfect color! Anyway, something definitely needed to be done about this under-bed eyesore:

First, I laid out the fabric and began measuring 8 inch wide strips, so that after it was hemmed and sewn on my bed skirt would be 6.5 inches longer

After measuring around my bed skirt I found out that I needed about 3 strips of the gold fabric. That left me with extra gold fabric so that once I sewed it to the bed skirt I could trim it down to the exact size I needed.

I cut out the fabric strips.

I pinned all 3 strips together with right sides facing each other...

And stitched them in place.

Then I folded up the edge of the fabric 2 times about 1/2 inch and ironed it in place.
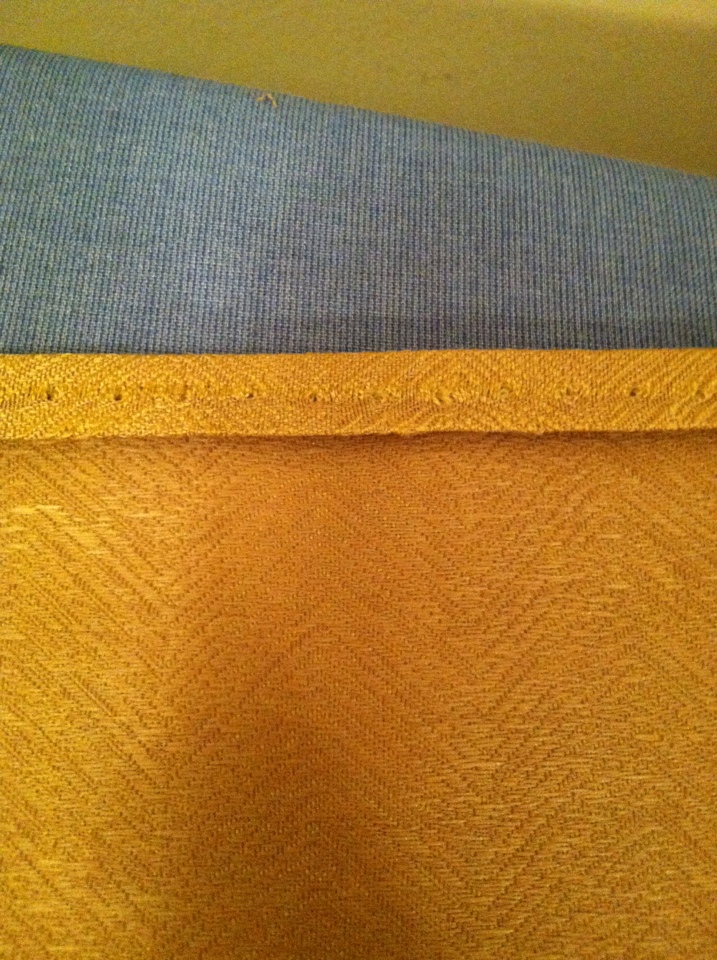
I switched my sewing machine to the blind hem stitch.

And sewed the hem.

If you don't know how to do a blind hem stitch here is a great youtube video that shows you how to do it. You don't need the special foot that she mentions in the video. If you want you can also always just hem it with a regular stitch, I just like the way the blind stitch looks.
After stitching the hem, which takes a LONG time, I ironed down the hem.

Then I hemmed one end of my giant strip of gold fabric. The other end I left un-hemmed so that I could make sure it was the right length.

I pinned the beginning of my strip to the bottom of the bed skirt with right sides together. I only pinned the beginning just to get me started, pinning the whole thing would have just wasted time.
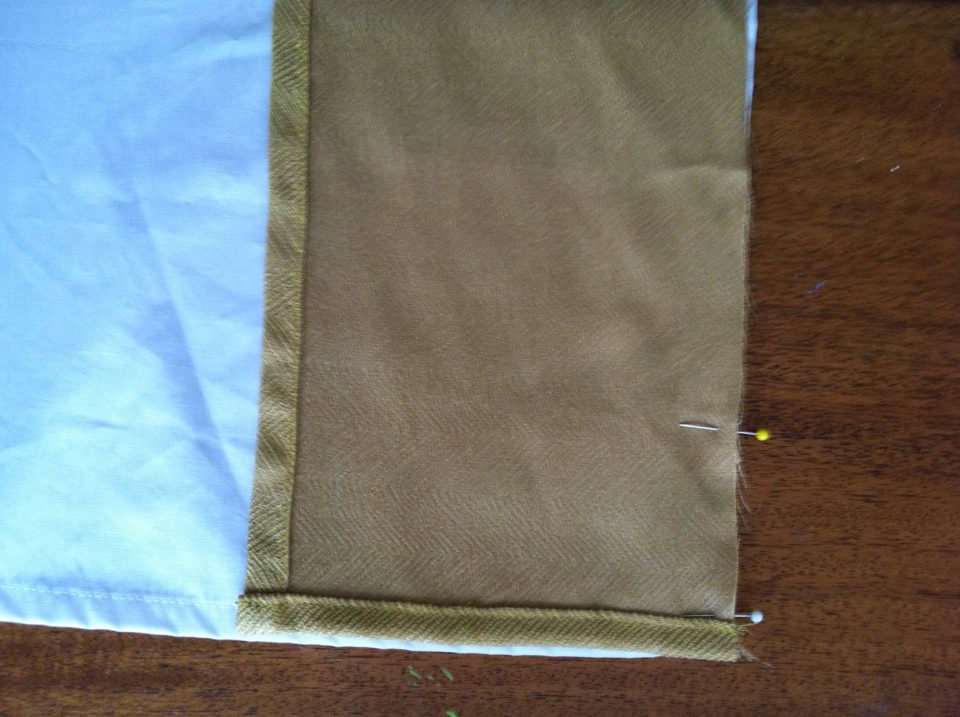
I stitched the strip to the bed skirt, with a half inch seam allowance. Once I got toward the end of my strip I hemmed the second end of the strip and continued sewing the strip to the bed skirt.

Ironed the seam.

And I was done! Or so I thought, until I saw it on the bed and how bad the corners looked. I had put so much time into the bed skirt by now, I just couldn't leave it with bunchy corners. So I took it off the bed again.

I cut slits in the corners.

Ironed up the edges.

And stitched them in place.

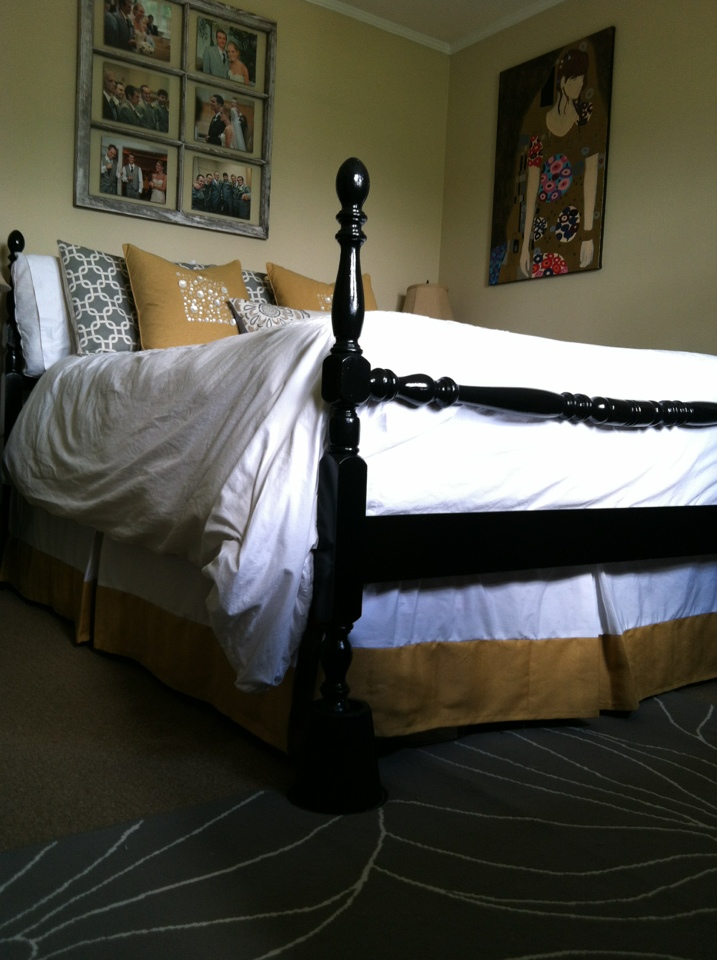
Doesn't it look so much better now? There's a pop of color, no more ugly under-bed storage showing, and no more bunched up corners!
And for a before and after close up on the corner...

No comments:
Post a Comment