It's that time Again!! Time for another Pinterest Challange!!
hosted by these lovely ladies:
If you remember, for the last pinterest challange I made a hand-painted rug (more on that
here.)
Well this time I decided to make some new curtains for my bedroom and I loved the ones I found on pinterest from
A thoughtful place. Here are the gorgeous curtains she made.
And here is what I ended up with.
Here's what I used to make them
- pins (not pictured)
- chalk (not pictured)
- scissors
- grey cotton thread
- pencil
- full size sheet (I used Walmart's brand Mainstay to keep it cheap)
- 2 long curtain panels (also mainstay)
- L shaped ruler
- yard stick
The white curtains were 80'' long, so my plan was to cut out four 11'' wide strips (allowing for 1/2'' seam allowance on each side) so that I would end up with four grey stripes and four white stripes. I folded the sheet in half so that it was more manageable to draw the lines and cut the strips. Using my L shaped ruler, yard stick and chalk I marked out 8 strips.
side note: a twin sheet may have been big enough, but Walmart was out of them so I wasn't able to check. Also it may be cheaper to buy grey fabric, but the only store in my town to buy fabric is Walmart and sadly they don't have any grey fabric.
Here's my sheet after I finished marking out my strips. Next I cut out the strips. The strips only need to be about 5 inches longer than the sheet folded in half, so I cut off the ends of each strip.
Then I folded down the edges 1/2'' and ironed them.
Next I pinned my strips onto the curtain, starting at the top of the curtain, then making a mark with my ruler and pencil 10'' down from the last one, and so on all the way down.
Then I carefully sewed all of the strips to the curtain.
It was finally starting to look like the grey and white striped curtain I had imagined. All I had left to do was sew the ends of the strips to the back of the curtain. This is what they looked like before doing so.
I folded over the fabric about an inch and ironed it.
And pinned it.
Here's the whole curtain after the ends had been ironed and pined
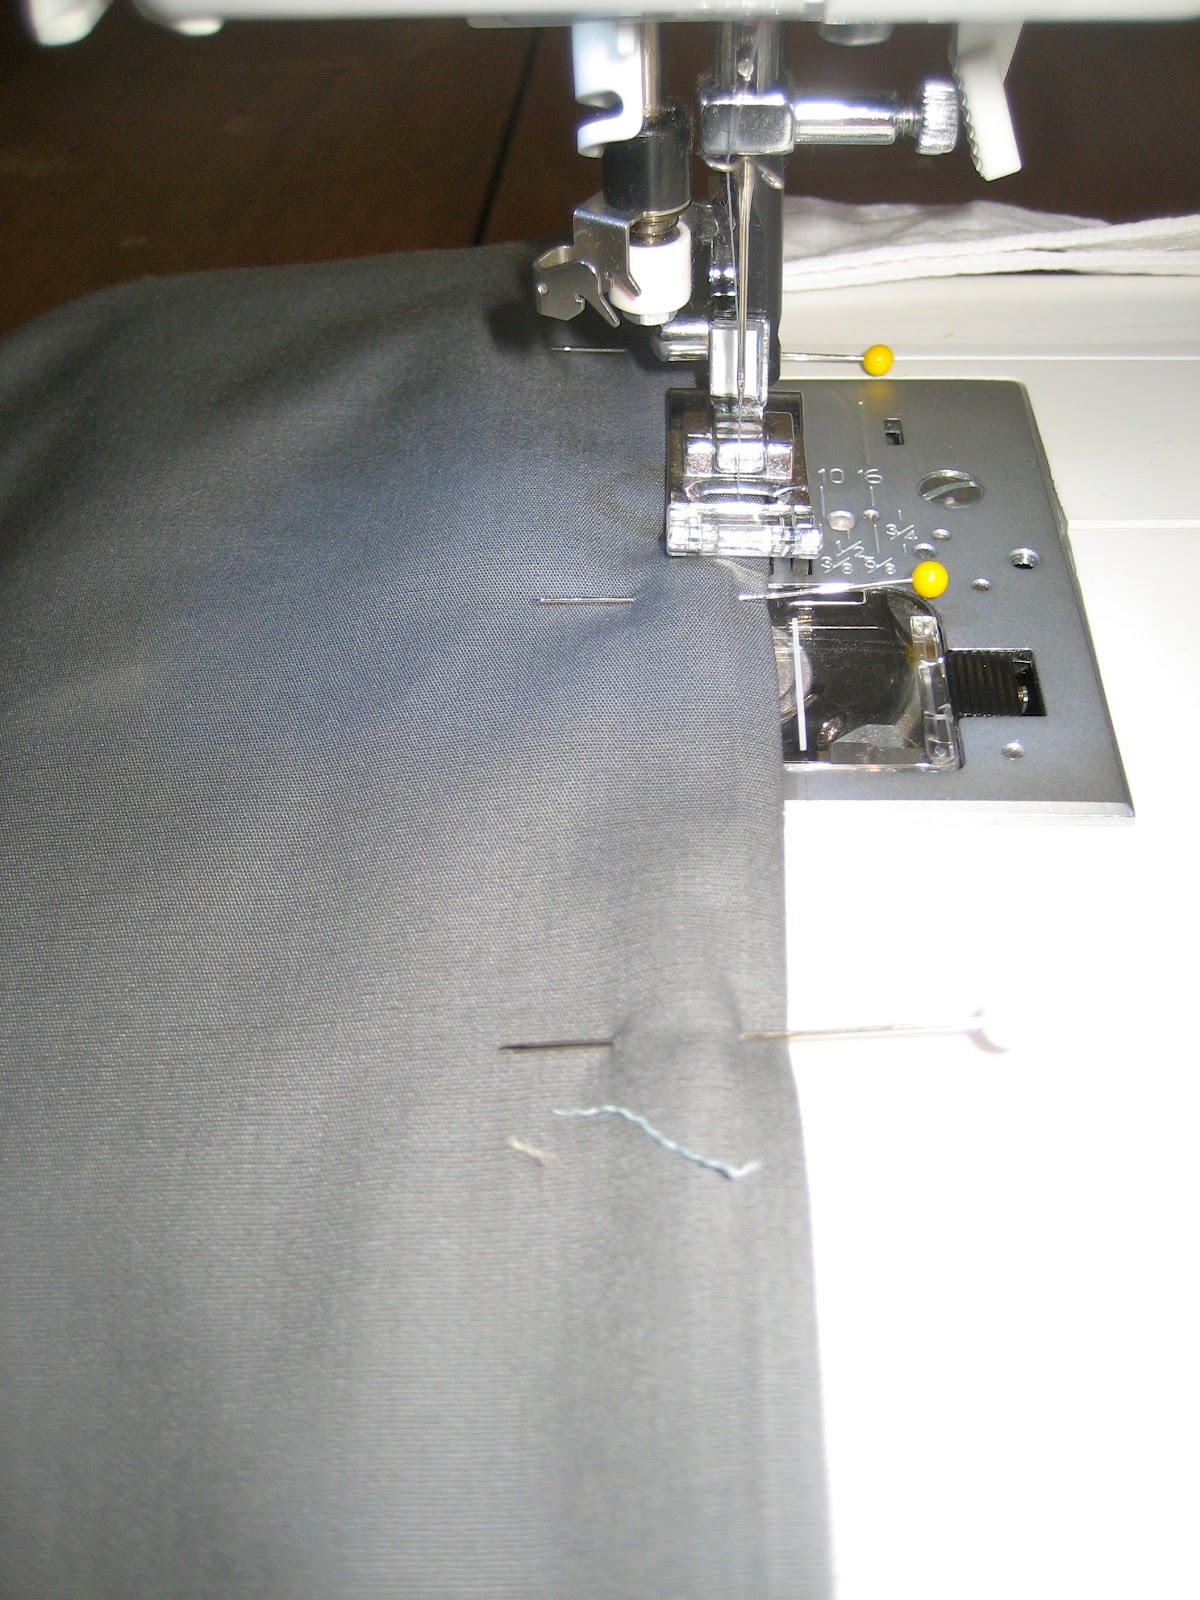
Then I sewed the strip ends down, trying to line up my stitching with the stitching on the white panels.
Here's what it looks like on the front side. It's hard to see the stitching on the white panel because of the camera flash, but it is lined up.
Finally I was finished!! The whole process probably took about 8-10 hours but it was totally worth it! I am so happy with my new curtains and I think they make our bedroom look much brighter and fun. Here's what our room looked like with our old curtains and decor.
And here it is with the new curtains and decor.
My $25 dollar rug from Ikea (used to be in Jad's office) looked perfect with the new curtains!
Price Break Down:
- 2 curtain panels = $17.97
- Full sheet = $9.97
- Grey thread = $2.16
total cost of curtains = $30.01
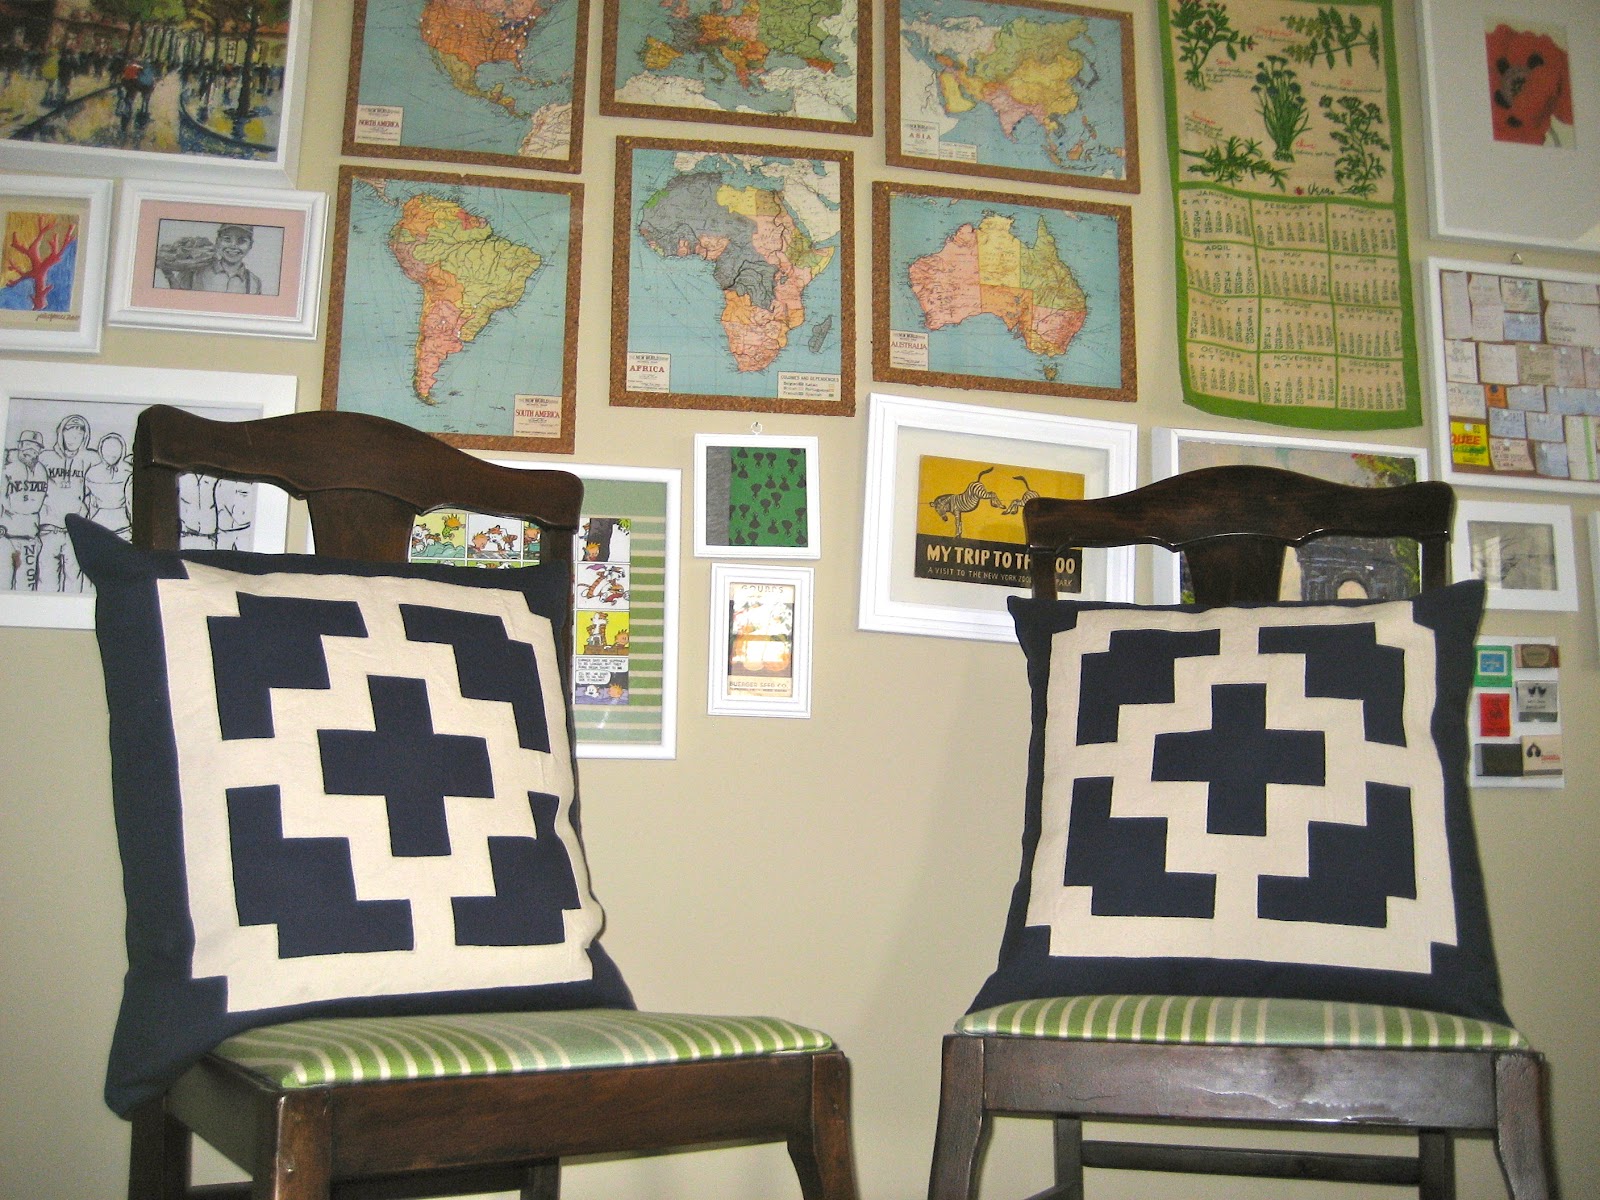
The yellow and white pillow on the chair is actually fabric covering a pillow, but I do plan on using this fabric to make a pillow like this, also the decor on the dresser may be changing, I just threw it all together last minute for the picture. I'm planning on making a few new pillows, and maybe painting some furniture to complete my room make over so stay tuned for more pictures of my bedroom make over in the near future. In the meantime let me know what you think of the new look and if you have any questions or advice about curtain making!