Sunday, April 15, 2012

DIY Roman Shades

This weekend I decided to add a little color to our mostly white bathroom by making a colorful roman shade to go over the window that was being covered by boring white blinds.

Supplies Needed:
Scissors
Ruler
Pen
Hot glue gun
Glue sticks
Vinyl Blinds
Sewing machine/Fabric glue/Heat and Bond


First I laid out my fabric on the floor and ironed it. When I have a giant piece of fabric like this I just iron it right on top of my rug, because nothing seems to happen to the rug (this is probably not true with all rugs so be careful!).

Next I placed my blinds on top of the fabric and straightened out all the slats. (Mistake I made: I should have placed it two inches lower, but forgot to allow for 2'' of seam allowance at the top).

Once the slats were nice and straight I traced all the way around the blinds 2'' from the edge.
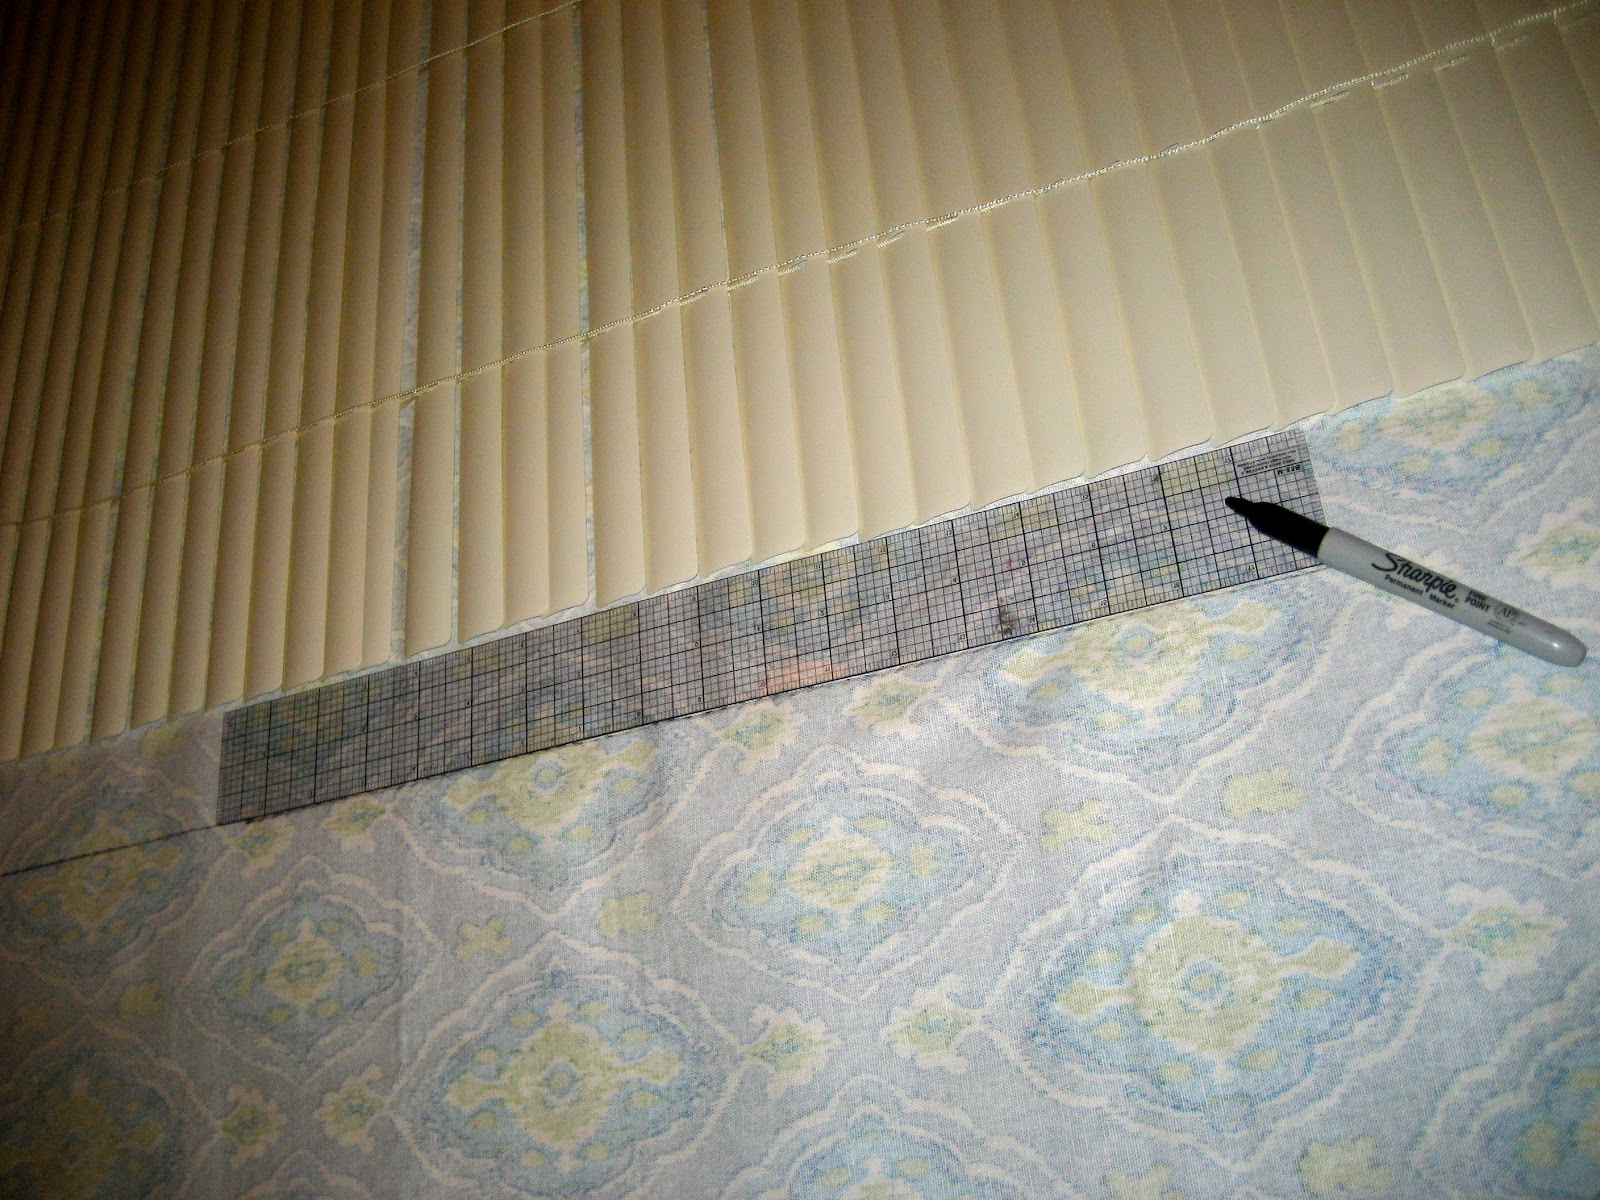
Here's what my fabric looked like when I was finished.

I ironed a 1'' hem around the whole piece of fabric (fold the fabric over 1'' twice). Since I forgot to leave two inches at the top I had to do a 1/2'' hem at the top and bottom.

Here's how the back side of my fabric looked after ironing all the edges down.

I used the blind stitch setting on my sewing machine to sew down the hem, so that you couldn't see the stitching very clearly on the front side of the fabric. Here's how it should look on the back side of the fabric. If you're not comfortable using a sewing machine, or don't own one, you can use heat and bond or fabric glue.


And here is how it should look on the front. As you can see, there is much less thread showing than with a regular line of stitching. If you don't already know how to sew a blind hem stitch here is a video that shows you how. In the video she says you need to use a blind hem foot. This isn't necessary. I don't have one, but all I had to do was line up the fold with the middle line on my regular presser foot.

Now that my fabric was sewn and ready to go, it was time to cut my blinds. I cut the ladder like string on each side, being careful not to cut the thick string that goes through all the holes in the slats.

After I finished cutting the strings they were still attached at the bottom bar by these circular plastic inserts. I just pulled on the strings and they popped out.

I pulled out the thick string on the inside and untied the knot so that I could pull the bottom bar off.


My blinds were 64'' long and I wanted the folds to be about 8'' apart so I left 6 slats on the strings and pulled off the rest.

Using my ruler I spaced each slat 8'' apart.

I made a small and light mark with a pencil to keep track of where the slat should sit incase they moved while I spaced our the rest.

Here's how my shade looked after they were all evenly spaced out.

Next I glued down each slat (including the top and bottom bars) with my hot glue gun. I made sure not to glue down the space near the holes on the slats so that the string is able to move smoothly through the holes. I wasn't able to take a very good picture with the hot glue because it dried so quickly, but as you can see they are glued onto the fabric curved side down. I had to glue each slat one little section at a time to make sure the glue was still hot. I've read in other blogs that they used fabric glue, this might be easier because you wouldn't have to move so quickly. I didn't have fabric glue on hand so I just used my glue gun instead.

Next, I re-knotted the thick string so it wouldn't slide through the bottom bar anymore and cut off the excess string.

Finally it was time to hang them and see how they looked and worked!

To get the full effect, here's how the bathroom looked before.

 And here's how they look now (at night).

And here is how they look in the morning with sunlight shining through.

A view of the whole bathroom.

And this is how they look rolled up slightly.

Tuesday, April 10, 2012

Redisigned Baby Rocking Chair

I found this adorable miniature rocking chair at a yard sale last weekend and thought it would be perfect to give to my cousin (who is expecting a baby girl in July) at her baby shower this weekend. The red was a little boyish and I knew she was going to have touches of yellow in her nursery so I decided to paint it yellow. I had also recently read younhouselove's post where they painted a wooden high chair with a very fun yellow paint. So using their step by step instructions and the same paints I began the process of revamping this cute little rocker.

Here's what it looked like when I bought it. It was already very cute, but just needed a new color to match it's new home.

First I sanded it.

Next, I sat the chair on top of a newspaper in the yard so I didn't have to worry about getting spray paint anywhere it didn't belong.Then I sprayed it with a few coats of white spray paint primer. After waiting for it to dry I flipped the chair over and painted the bottom side too.

I waited about 30 minutes until the primer was dry to touch and then spray painted it with several coats of Rustoleum's "Sun Yellow" gloss spray paint. I did the same on the bottom side of the chair as well. It looks a little green in this picture for some reason.

After letting it dry out for a few days this is how it turned out. I made a cute baby sized pillow out of the same fabric they chose for their bed skirt and curtains that I made them, sadly I forgot to take a picture with it. I'll try to get one from my cousin and post it later.

I tried to get my cat to pose sitting on the chair. As you can see she wasn't too happy about the idea.

What do you think?

Update: my awesome cousin in law saw on my blog I needed a picture of the chair with the pillow I made to go with it and sent me a few pictures of it. Here are two views of the chair in their adorable nursery.


Saturday, April 7, 2012

Thursday, April 5, 2012

New Date Pillow Color Combo

As requested by an etsy customer, the date pillow is now available in burlap with brown paint.


To purchase this pillow click here.

Monday, April 2, 2012

Dresser Update


Check out this newspaper article from the 1950s I found in one of the drawers! pretty crazy!


And here is Jad assessing the damage of the inside of the drawers. We had to rip out most of the bottoms of the drawers. Fixing these is going to be an interesting project. We're not a very handy couple when it comes to wood working, so we'll see what happens.


Here it is after sanding it. Lots of dust!


And here it is after washing off all the dust. I think it looks kinda cool and rustic like this. I'm kind of considering leaving it like this. I'll have to see how it looks in the house like this.

Looks like I need to wash off the upper right drawer a little more.